Donatello
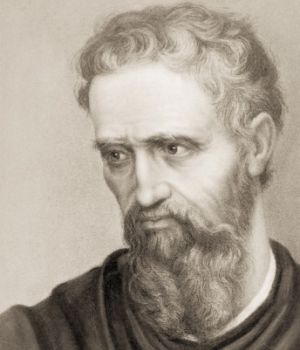
Donatello was born in Florence, Italy about 1386. This
is over 600 years ago! A document with the exact date of his birth has never
been found. Donatello was
son of a wool comber, his real name was Donato di Niccolò di Betto Bardi. “Donatello”
came as a nickname from his friends. His first training
was in a goldsmith's shop, but at age 17 he became an apprentice to the famous
sculptor Ghiberti. In 1407 he began work at Florence Cathedral, where he
carved many figures. These statues were much more lifelike than the stiff
sculptures of the Middle Ages. Donatello was hired by many churches and private patrons
to make sculptures for them.
He decorated tombs and pulpits and made monuments. He also carved many
reliefs—which are carvings raised from a flat surface.
Donatello never married and lived with various other artists throughout his
life. He died in 1466 at the age of about 80 years old.
Show Sculptures:

Madonna with Four
Children-
#2
·
Completed in mid 1400’s – Donatello was about 50 years old
·
Relief sculpture- point out that it is a raised sculpture from a flat
surface
·
Ask students what they see (a woman, babies, hands etc)
·
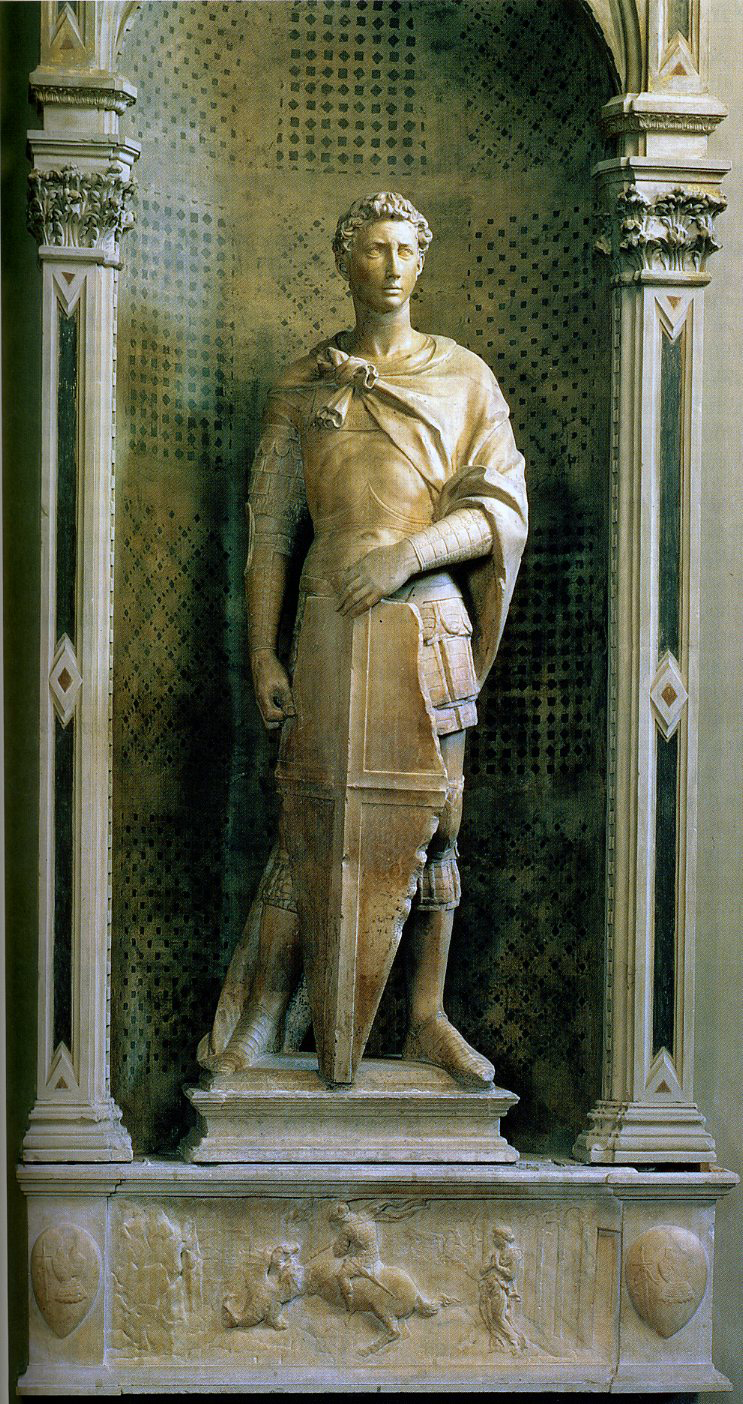
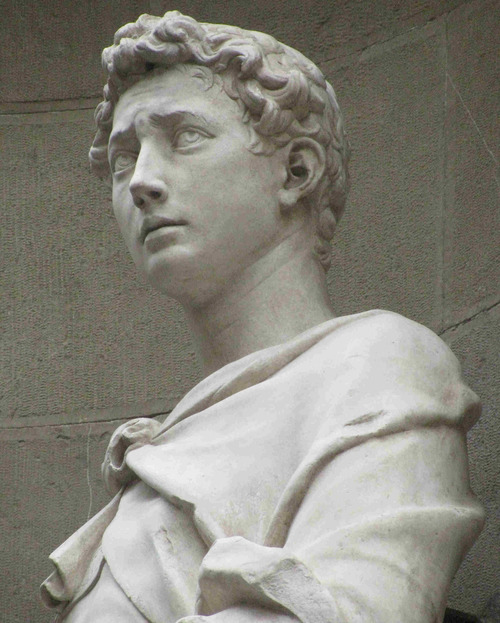

Saint George- #3
·
Completed in 1417- Donatello was about 30 years old
·
Made of marble and approx. 16 feet tall
·
Direct the students’ attention to the bottom of the statue. This
is a scene with Saint George fighting a dragon- done in relief.
·
Point to the different patterns used on the armor and shield
·
Show how he gave the hair texture with curves, bumps, and curly
lines

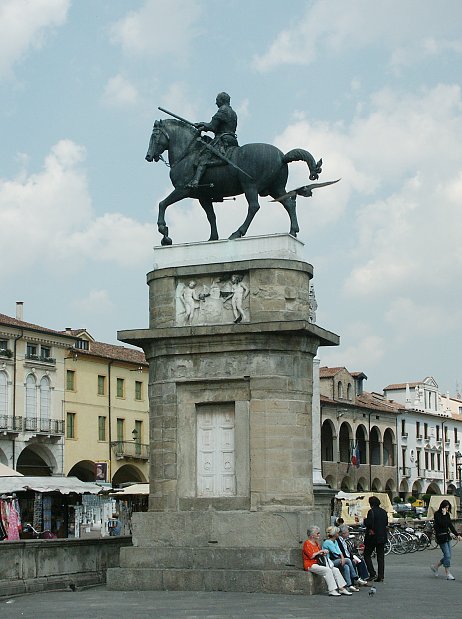
General Gattamelata- #4
·
Completed in 1450- Donatello about 65 years old
·
Made of Bronze, statue is about 12 feet tall. Then it’s placed
on top of a 25 foot high pedestal. That’s 37 feet tall!! (show picture #5)
·
This was the first statue (that wasn’t a tomb) to be placed in a
public place
Project:
What
you need:
·
One chunk of clay/student
·
Paper plates
·
Small dishes of water (2-3 students to share)
·
Sculpting tools- toothpicks, combs, toothbrushes, &
craft sticks
Step 1- Pass out the
paper plates and have the students write their name near the edge. When they
are
finished pick up the
plates from them while they work with the clay.
Step 2- Pass out tools (to share), water dishes,
and clay.
Step
3- Have the students wet their fingers and message/knead the clay until it is
soft and moldable.
Step 4- Have students
use their hands, fingers and tools to sculpt an animal or person (can be just a
head of a person or animal),
adding texture and patterns.
Step 5- Once each
student has finished, hand them their plate to put their finished sculpture on.
*The
clay is “air dry” clay, so it will dry over the next day or so*